Who knew car seats come in car seat shaped boxes that can easily be converted into a cardboard box play kitchen? Not me. I knew the time for a bigger car seat would come sooner or later, but it seems like it just happened overnight. Last month big sis was a few inches from the height limit on her infant seat, and at her last check up she was at max capacity! New bigger car seat = cool shaped box = cardboard box play kitchen. When this lovely thing arrived on my doorstep, I was a little shocked. I never expected a car seat to come in a car seat shaped box. Wouldn’t a regular square one work just as well? Either way, it was a cool box that looked just like a kitchen! Big sis is just beginning her “cooking” phase, so the timing couldn’t have been better. Pans, spatulas, measuring spoons and rubber scrappers are becoming the most played with toys in our house. She fills pans with toys, then wants something to stir them with. She has been watching mommy cook and wants to do it too. The whole process is pretty cute, but it wasn’t until she also decided to start “tasting” her cooking that I really started to wonder, do I seriously taste my cooking THAT MUCH?? I guess I do! Here is the box as it came, doesn’t this just say kitchen to you?

materials list:
- Cardboard boxes (bonus if you have one already shaped like a play kitchen)
- Box cutter
- Duct tape
- Hot glue
- Spray paint
- Foil
- Clear contact paper
- Handle
- Milk jug lids
- Wrapping paper
box play kitchen: reshape the box
The only problem was that the “shelf” it came with wasn’t very deep. I could have left it as it was, but it was an easy fix. I am terrible at explaining things and this picture doesn’t do much justice either, but first I cut a slot out of the side of the box to give it a deeper ledge. I left the front piece in tact so it could just fold down to act as the shelf for the stove top.

box play kitchen: add the oven
Before I glued anything together though, I had to plan the oven. A play kitchen wouldn’t be the same without a “functioning” oven. I needed a shelf for the baking sheet and I just happened to have a box that was very close to the same height when placed on its side. I hot glued in a shelf and into the car seat box it went.
When I first built this, I knew having a second box inside would make the car seat box a lot stronger and I’m so glad I did that. Since the creation of her kitchen, big sis has spent hours cooking on it, but also has had a few good attempts at climbing up and sitting on its “burners”. Thank goodness its strong. Once the oven was in place, I used a razor and cut 3 sides of the oven door, leaving the un-cut side at the bottom.

box play kitchen: add the burner shelf
Then I used another scrap of the cardboard and bent it to look like a shelf above the burners. This set perfectly on top of the lip from the front of the car seat box that I cut back for the shelf. Once again, hot glue to hold it all together. The last thing I did was to run a piece of duct tape around the raw cardboard edges, I didn’t like that they were open and a little sharp. Boxes are the BEST no matter what shape they’re in!

box play kitchen: paint the box
Looks good right? Just kidding. A little paint to even it all out did help though. Here’s the painted box, now it’s taking shape. Once the paint was dry, it was time for the fun part of putting it all together and adding the decorations. Big sis was already onto its use and grabbed a pan out of the cabinet.

box play kitchen: handles, knobs and wrapping paper
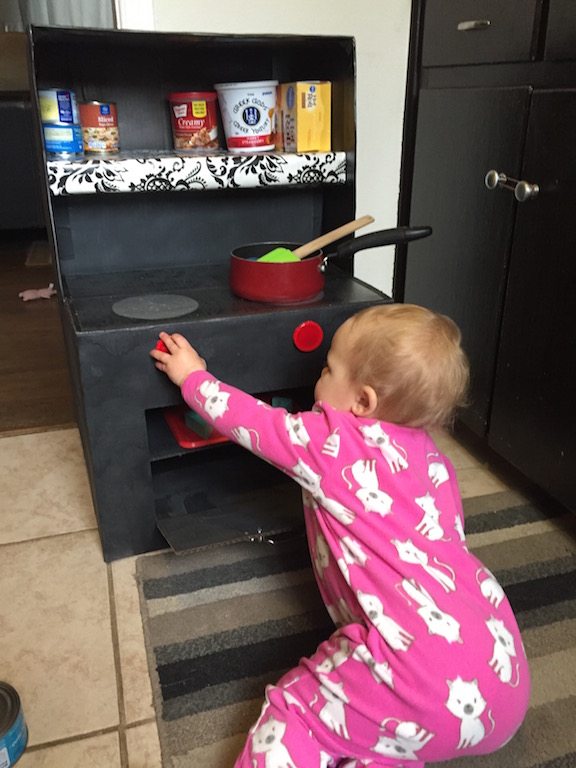
Although it’s the shape of a tiny kitchen, it still didn’t look like much. The oven door needed to look like it had a window and the stove top needed some burners. Foil and contact paper to the rescue. I knew the top part of the stove would receive heavy use, but I did not know that it would become a table for all future drinks and snacks. The contact paper has made a huge difference in being able to clean up all of the spills, and yes, there have been MANY. It also really holds the foil on nicely, even on the oven door. I used a little scrap of wrapping paper for the shelf to give the whole thing a little more detail. I used an old drawer handle for the oven door, held on with some short screws. The stove knobs were initially made of solo plastic cup bottoms that I glued on.

Those held up for a while, but eventually they both got ripped completely off (These have since been replaced with milk jug lids and screws -if you are making one, just start there).

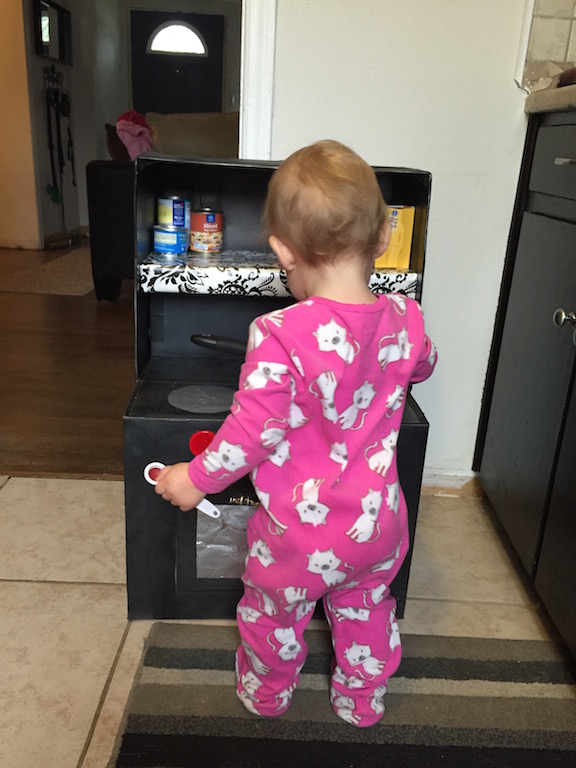
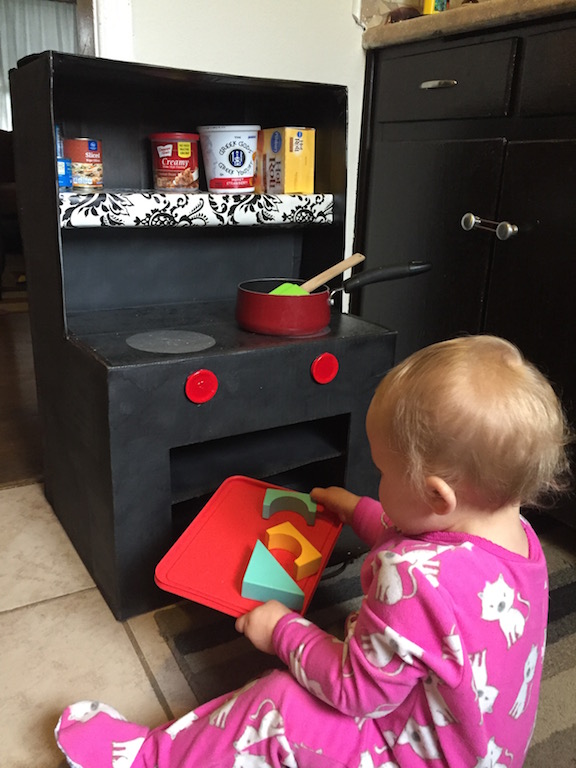
box play kitchen: ready, set, action!
The oven was equipped with a tupperware lid as a baking dish and quickly gained a few blocks to be “baked.”

As soon as the box came, I began collecting some empty containers and boxes. So by the time I actually got it all put together, there were plenty to fill the shelf. Who knew a cardboard box play kitchen would be the center of attention at our house, for quite a long time now. We have since added a mini set of pans and utensils strictly to play with. We also regularly swap out containers to keep big sis guessing how each one opens and closes. I never thought I would notice food packaging, but on more than one occasion now I have purchased a certain brand just for the bottle. Oh well. Here it is in action…