Hanging baby toys can make any space more fun. At 3 months old, big sis decided she wasn’t going to sleep in her cradle anymore. It was a very pretty wooden cradle made by my grandpa, that has been passed through the family for the last 25 or so years. So in an effort to try to make it more “comfortable” for her, I figured that since she loved the hanging baby toys on her play mat so much, why not duplicate it for her cradle?
Once again, I’m aware they sell these in the stores, but as usual, I already had almost everything to make it and with a new baby…I was at home with lots of time. I was familiar with styrofoam pipe insulation, thanks to a horribly awkward spider Halloween costume I made as a kid in which we used hangers and pipe insulation to make the legs. I bought a piece of the pre-taped kind for something like 3 bucks. It comes with a seam that has two strips of sticky material ready to go, preventing the need for a lot of glue. I already had a scarf that I had snagged and dedicated to my fabric bin, some plain black ribbon and a small collection of stuffed toys.
materials list:
- Pipe insulation with sticky tape
- Fabric
- Scissors
- Hot glue gun
- Ribbon
- Hanging toys and rings if needed
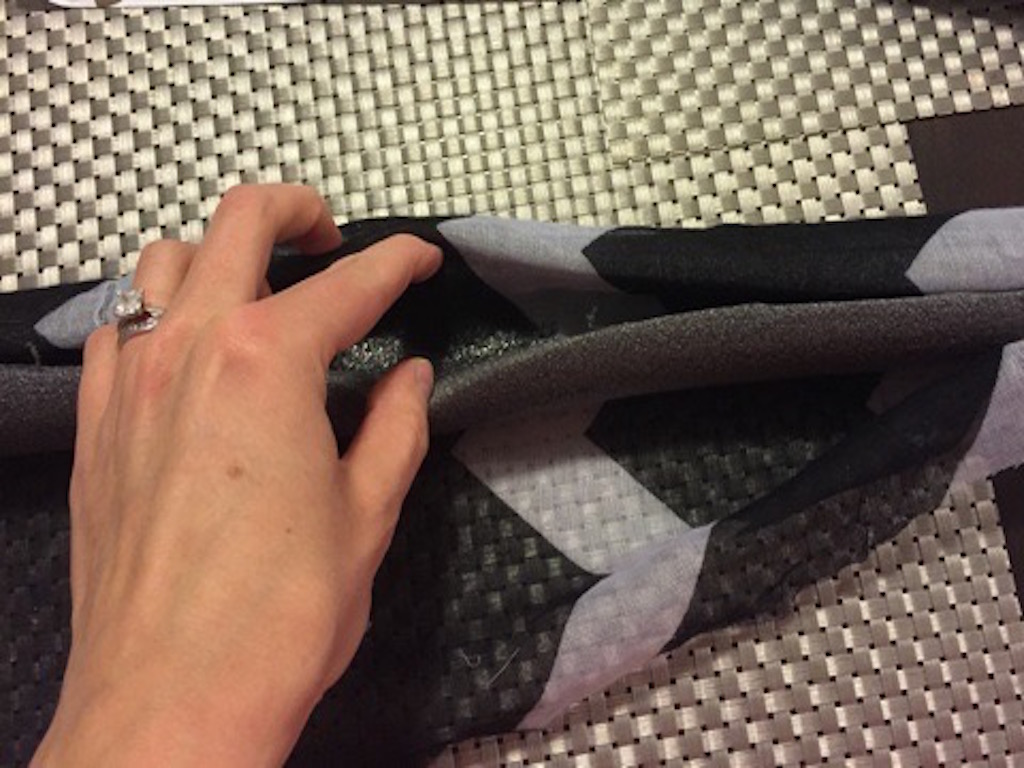
hanging baby toys: cut and tuck fabric
I began by cutting the scarf to a long skinny piece that was just wide enough to wrap around the insulation and tuck into the tape strips. I laid the pipe insulation on top of the fabric and began tucking the fabric into the slit. I pulled off the tape strip covers as I tucked to make sure that the tape wouldn’t stick to anything, but the fabric.

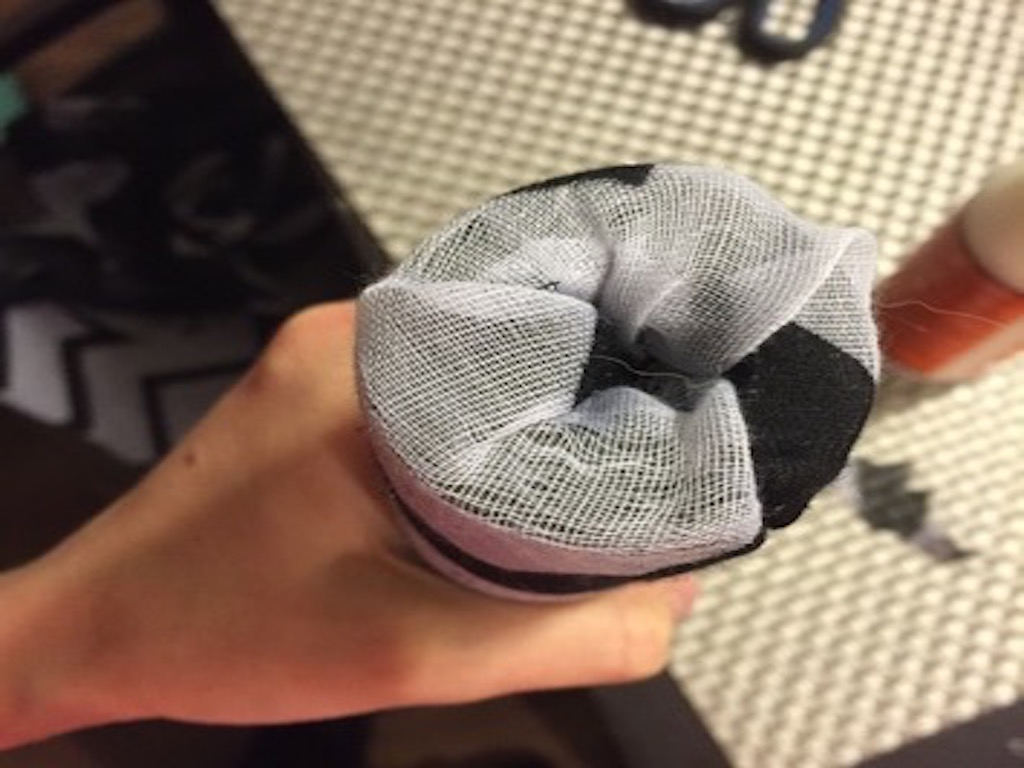
hanging baby toys: glue ends
When I got the end of the pipe insulation, I chopped off the fabric until it was only a couple of inches longer than the insulation. Then I put a line of craft glue around the inside of the insulation and tucked the fabric in, making sure it was getting in the glue.

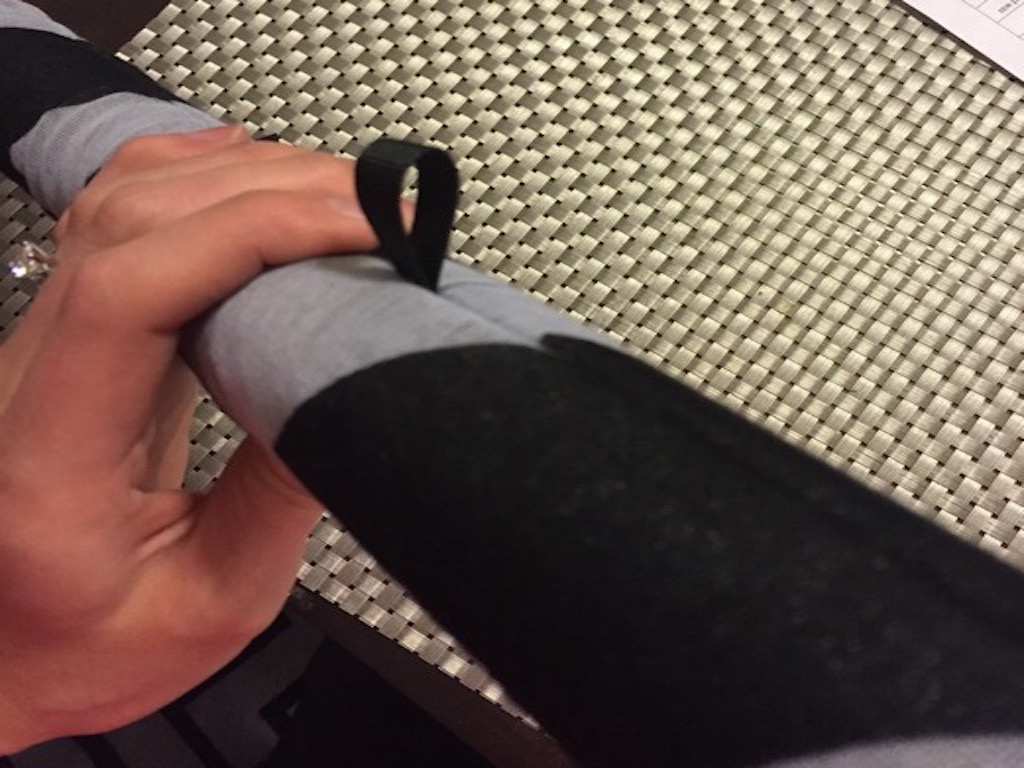
hanging baby toys: add ribbon loops
Then I added the ribbon loops. The sticky tape stuff wasn’t quite sticky enough to hold in loops on top of the fabric, so I used the hot glue gun and put a few drop where I wanted the loops at. I did 3, one in the center and one about 4″ on each side of the center loop. My cradle isn’t very wide so I wanted the toys fairly close together.

hanging baby toys: connect toys
Once all 3 loops were glued, all I had to do was hook on the toys. You can buy linking loops by the can if you need, or you can get plenty of cute toys that come with loops already on them.

I lucked out because our cradle has the perfect space between the mattress and the side to hold the arch, so I didn’t have to worry about attaching it to anything. If that’s not the case for yours, you could easily glue on some velcro loops to the ends of the insulation to hook it just about anywhere. The toys were a hit….but not enough to help her sleep. It does however provide entertainment for a few extra minutes after she wakes up….so I’ll count that as a win.
