In the last place we lived, we had a fireplace with a giant mantle. It was the perfect place to set decorations, but it was in the corner, without any lights. The whole point of putting out decorations is for people to see them, right? I looked at several perforated can lights to buy and all of them were so incredibly expensive. One day I was walking through the kitchen area at IKEA and I saw the cutlery canisters – hello diy can lights! They were a whole $3 a piece and made of a very thin perforated stainless steel. I grabbed 3 of them. I knew they also sold the create your own light kits so I also picked up a few of those on my way. Nothing fancy, just the cheap socket on a cord kind that comes in black or white. My ceilings were white, so white cords would be much easier to hide. I bought 3 of those at $5 each. Yes, I was going to have to hang 3 cords and plug them all in separately, but considering I didn’t want anything permanent and there weren’t any electrical outlets over there, this was exactly what I needed.
materials list:
- Stainless steel cans (I used these from IKEA)
- Cord set (I used these)
- Dremmel or other tool to cut the cans
DIY can lights: open and un-wad the socket cords
The socket cords came all wadded up and when I unfolded them they were so kinky I couldn’t even tell how long they were going to hang down, so the first step was to un-wad them and let the cords start to straighten out.
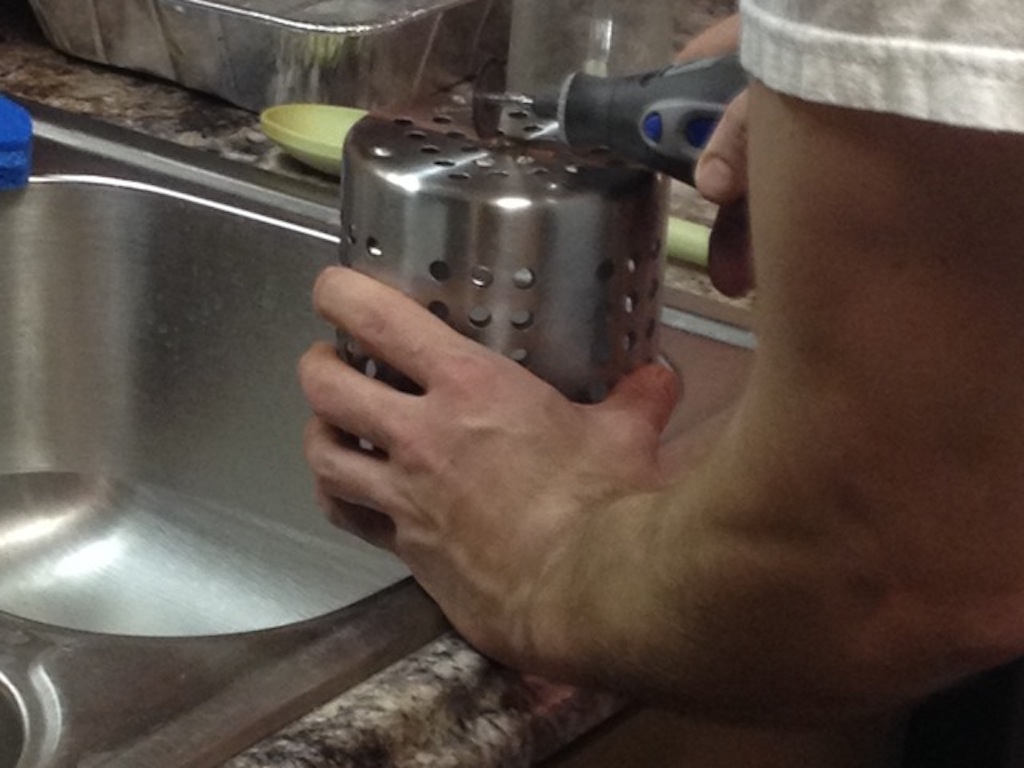
DIY can lights: cutting the cans
One of the only tools we owned at the time was a dremmel. A few minutes and some sparks later, dad had cut all 3 cans with an “H” pattern in the bottom of the canisters. The H was so the plug end of the cord would fit through the opening, but the hole was still small enough so that the socket side of the fixture would not pass through. He’s so smart! This allowed the can to hang on the socket without me having to do anything further.

DIY can lights: hang the cans
I threaded all 3 of the cans onto the cords and let them hang up for a few hours to weigh down the kinky cords.

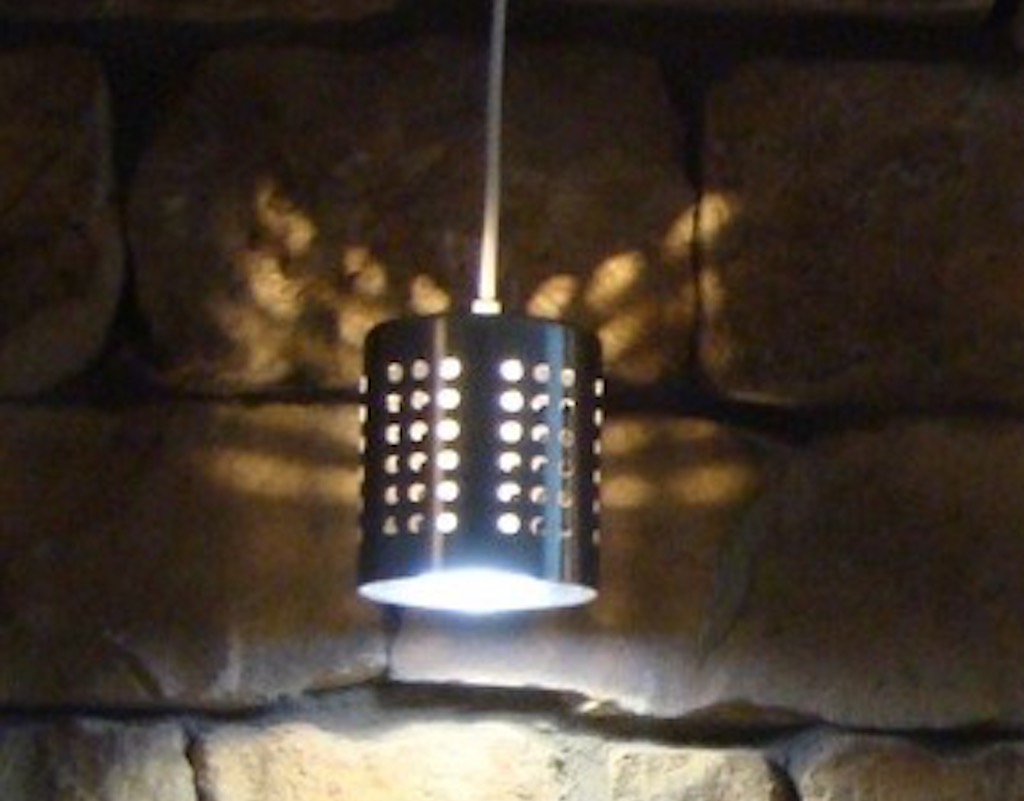
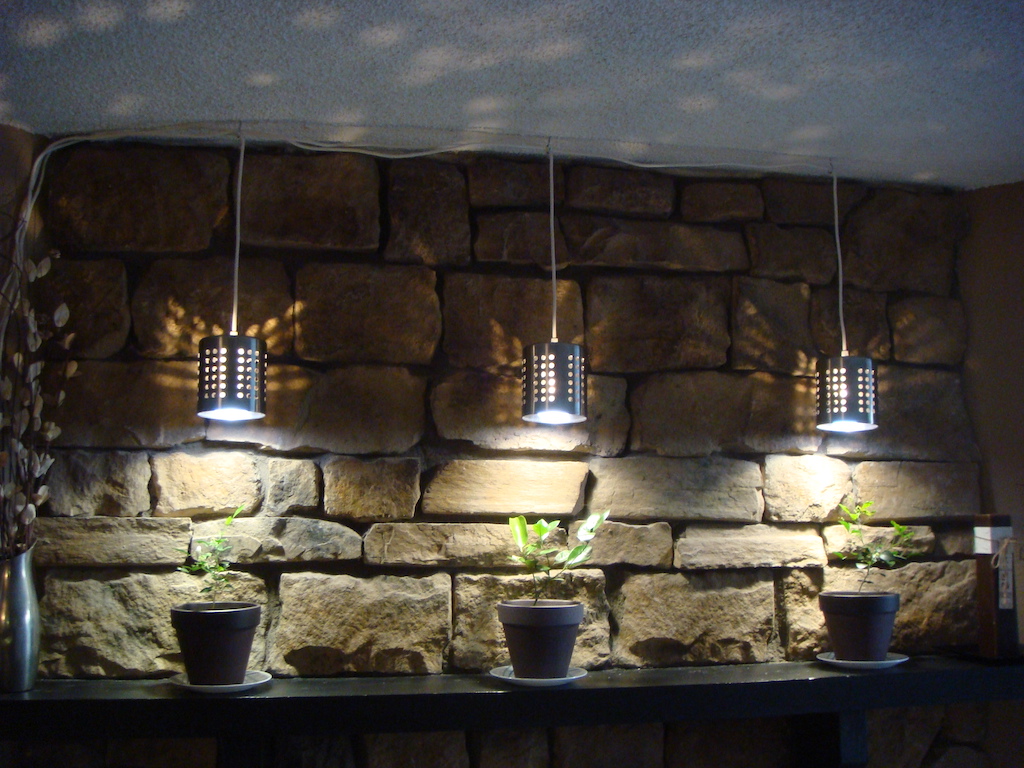
DIY can lights: finished product
I used the plastic hooks that came with the light sockets to hang them up. They were super easy to screw into my popcorn ceilings by hand. As soon as the major kinks were out of the cords I hung them up. Not bad for a few hours and $24 bucks!

Check out how we used these in our new house to replace some ugly stone pendants lights in the kitchen!
