
This post may contain affiliate links, which means I’ll receive a commission if you purchase through my links, at no extra cost to you. Please read full disclosure for more information.
Have you ever come across a piece of wood that you knew you just had to repurpose? Reclaimed wood decor is a fun way to turn something old into something new. When a friend of mine said they had access to wood from an old barn, I immediately said “yes please”!
The first step to any reclaimed wood decor project is to clean the wood. Good ‘ol soap and water will do the trick. Simply scrub it down and let it dry completely. Then you are ready to choose what to make with it. I was lucky enough to get several pieces so I was able to make several signs, a backpack hanger and a gun display.
Reclaimed Wood Backpack Hanger
The backpack hanger was by far the easiest. After I cleaned the wood, I measured the wall where it was going to hang, then I cut the wood. Then I found these adorable dragonfly hooks and screwed them on. Voila! Reclaimed wood backpack hanger complete. Hang up, hang backpacks up and you have one less thing cluttering the floor.

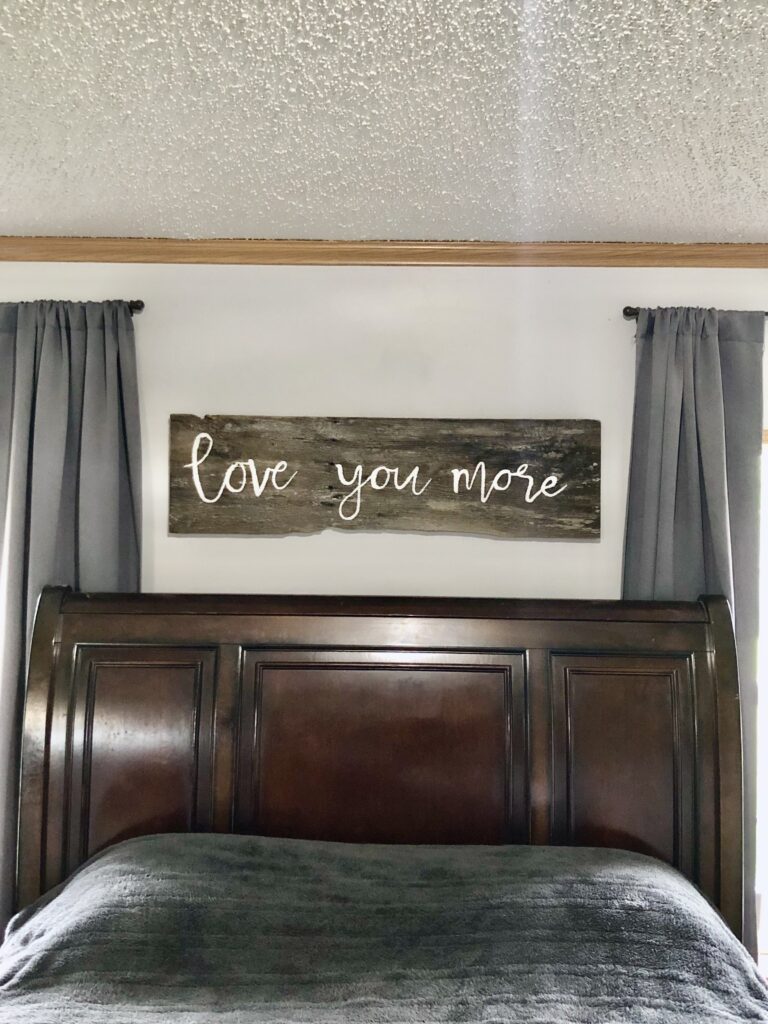
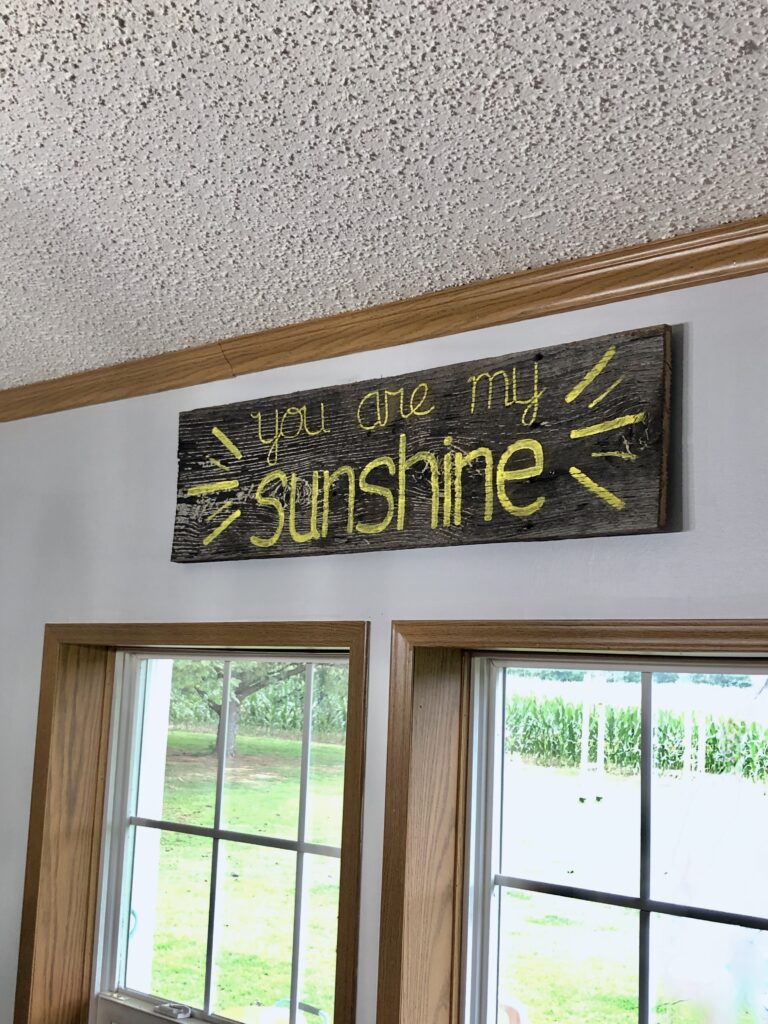
Reclaimed Wood Signs
Reclaimed wood signs are a pretty simple project also. Clean wood, cut wood, then spend hours on Pinterest choosing what it should say and then finally, paint it. When we moved to our new house we had almost no decor at all. We could only bring 2 trailer loads of our stuff so a good chunk of our furniture and decor got left behind. This gave me the blank canvas I needed to create not one, but 3 reclaimed wood signs. Once I had my saying selected, I freehanded the text onto the wood with a pencil. If you screw it up, just wash it back off. Once the text was where I wanted it, I got out the paint. I used a good white acrylic paint for this. Don’t use the cheap stuff or it will take a million coats. Seriously! Old wood is dry and it sucks the paint right up, so the white lettering took me several coats with decent paint to get nice crisp letters. The yellow wasn’t as bad and the look I was going for on it is more weathered as well. Once the paint is dry, you can clear coat over it, just make sure to use something matte or your whole sign will get a nice shine to it.

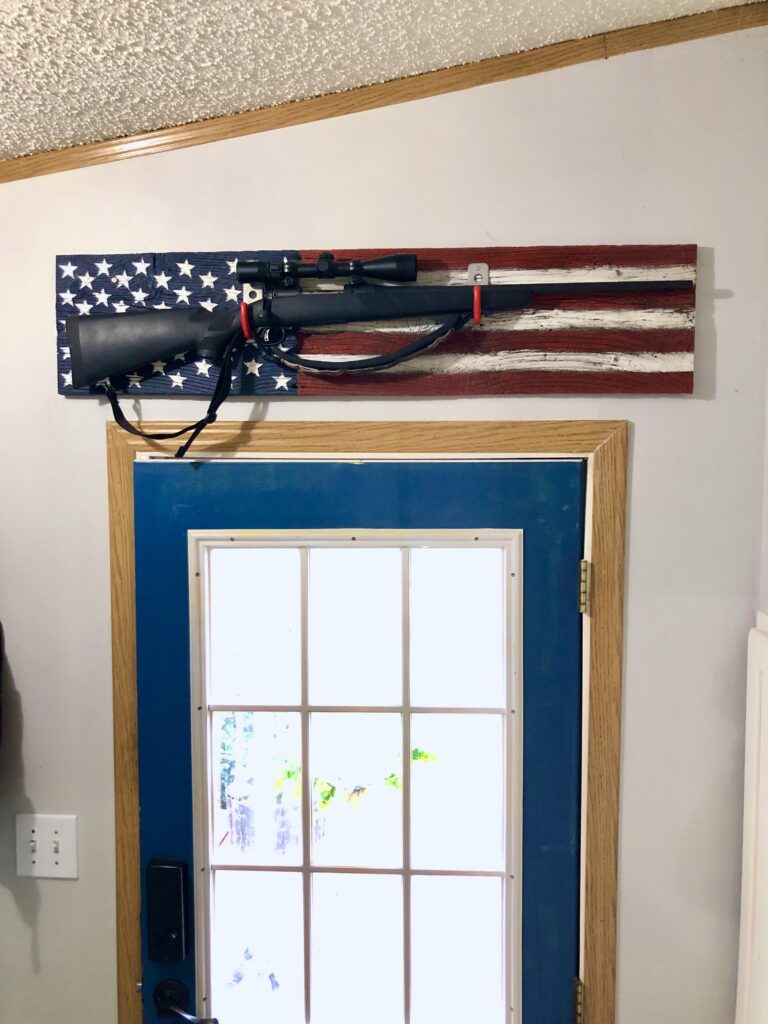
Reclaimed Wood Gun Display
My farmhouse needed just one more reclaimed wood decor project. A gun display. I had seen some patriotic displays before, but never had the time to actually make one. The perfect old wood changed that. First I cleaned the wood, then I drew some guides on the wood to determine where the stripes and stars would go. This was by far the hardest step. I had to move the stripes down a half an inch once, and the stars took several tries to get them evenly spaced. Maybe if I was better at math that would’t have happened, but it’s not my strong suit so it is what it is. Once everything was laid out I painted the red and the blue first. I knew if I started on the white I would have to repaint it anyways, so I started on the darker colors. I used standard acrylic paint for this also because I wanted it to be completely matte. The white took several coats, again, don’t use cheap white paint or you may never actually get the old wood white. Then I did the red because it was just stripes. I ended up using a pretty little paint brush for most of it because the wood is very uneven and getting into all the little cracks was challenging. Last, I painted the stars. That took some patience and a whole lot of time. But… it was totally worth it. The flag turned out just the way I wanted it. The very last step is to hang so big hooks on it. I used these hooks from Lowes, but I they haven’t had them is stock for a while now, so I have also used these hooks from Amazon too on another project. Once the hooks were on I hung it up and put in the gun.
Now that I am fresh out of reclaimed wood, I suppose I’ll have to work on another project until some more comes along.